


I have been meaning to post about this project for a while - and want to immediately give props to Derek at More Than Certified. He has done an excellent job at creating content for personal projects, resume-builders, and walk-throughs on cloud platforms for folks interested in DevOps.
I found MTC and completed the AWS - Terraform implementation a couple of months ago, then he rolled his Azure course last month! As an Azure-saturated learner, this was an exciting drop for me so this is my personal reflection on that, with a slight adjustment here and there.
To check out Derek's course head to: morethancertified.com
Note: If you're in devops and working with multiple resources, tags are great. I support them - but in my steps here, I do not use tags. You'll see some of my stuff shows up with {} curly braces, as that's where tags should end up.
For this project, you will need:
An Azure account with an active subscription
a familiarity with Visual Studio Code
Terraform v 1.1.5
Azure connected to your VS Code (How-to video below)
docs to get started:
learn.hashicorp.com/tutorials/terraform/azu..
So without further adieu, allons-y!
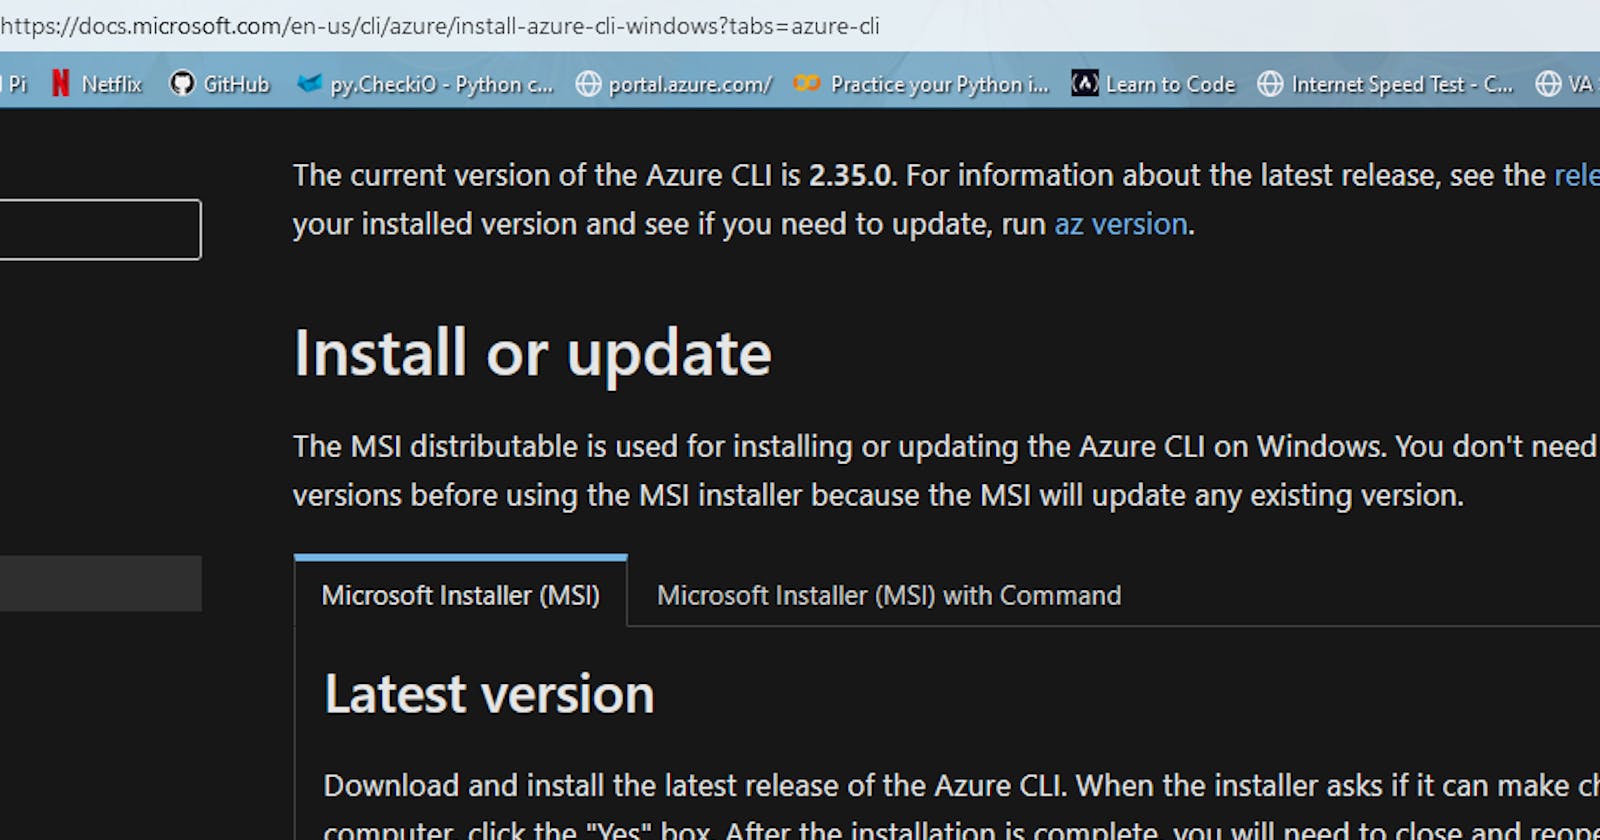
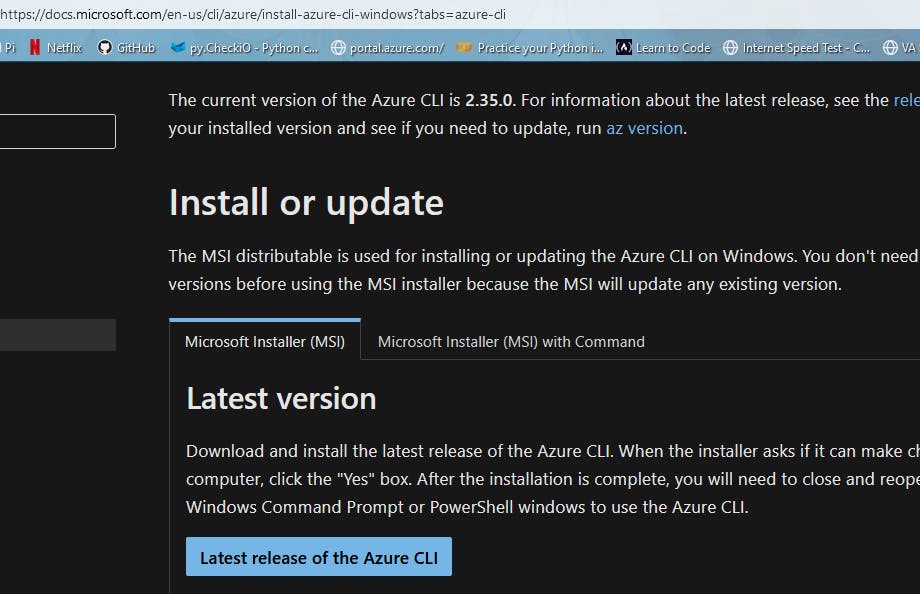
We are going to start out with an install of the Azure CLI for our local environment which you can find here: docs.microsoft.com/en-us/cli/azure/install-.. or in PS:
$ Invoke-WebRequest -Uri https://aka.ms/installazurecliwindows -OutFile .\AzureCLI.msi; Start-Process msiexec.exe -Wait -ArgumentList '/I AzureCLI.msi /quiet'; rm .\AzureCLI.msi
Make sure you have your subscription linked to VS Code as mentioned in the pre-reqs. If you don't, there's a nice tutorial here.
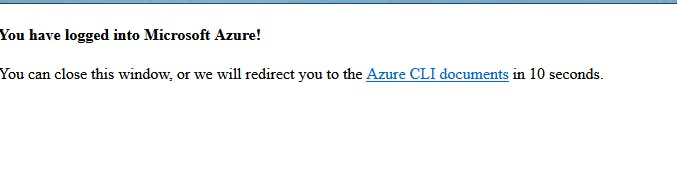
Now let's open a new terminal from the menu, and choose PowerShell (should be default if you're a Windows user). Here we are going to enter
az login
to connect our account.
You should get a popup window in your favorite browser, confirming you're in (as I was already) or a code that you can enter in terminal to validate the session for VS Code.
You can verify you're in by running
az confirm show
-if you just want to double check. You might also see you Azure email at the bottom left of the screen.
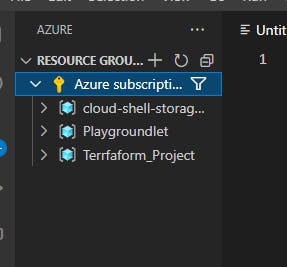
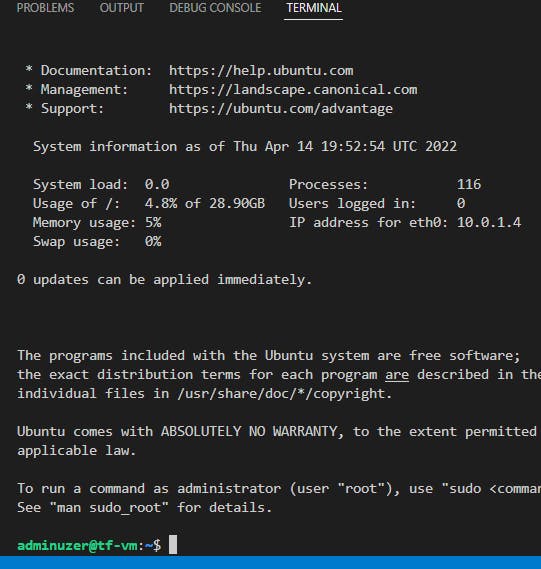
Once it's set up we're going to connect to Azure and set up the new Resource Group for our project. I named mine a misspelled version of Terraform. Goodtimes.
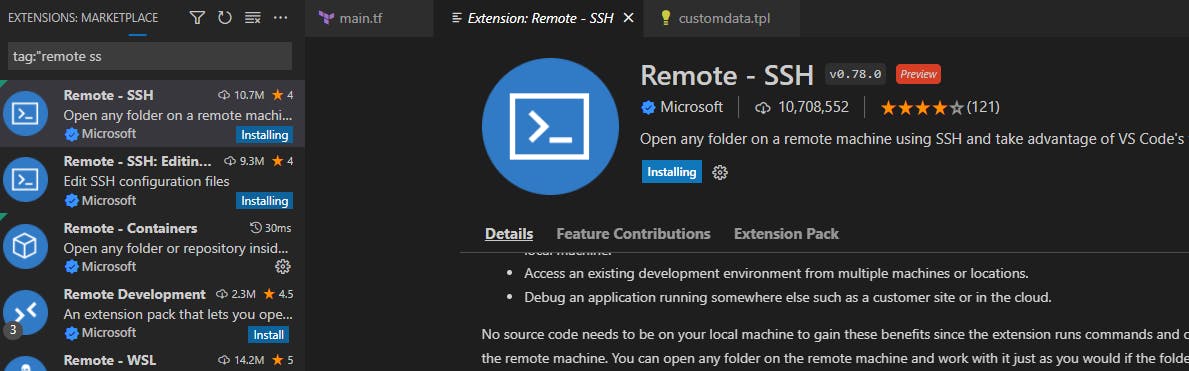
Now we are going to navigate to the extensions menu on VS Code, and grab a Terraform extension. I chose this preview version:
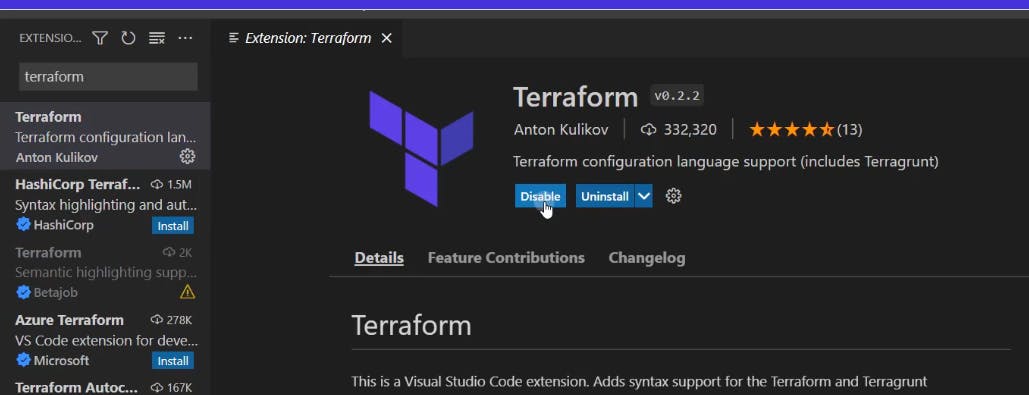
You can make sure you have Terraform installed by following instructions here. I already had installed Terraform for a previous project, and used Chocolately. The command for those chocolately users is
choco install terraform
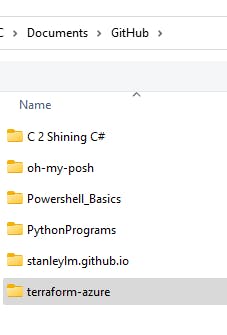
Great, let's start the folder and file area up. To get the project ready, we should build a file structure:
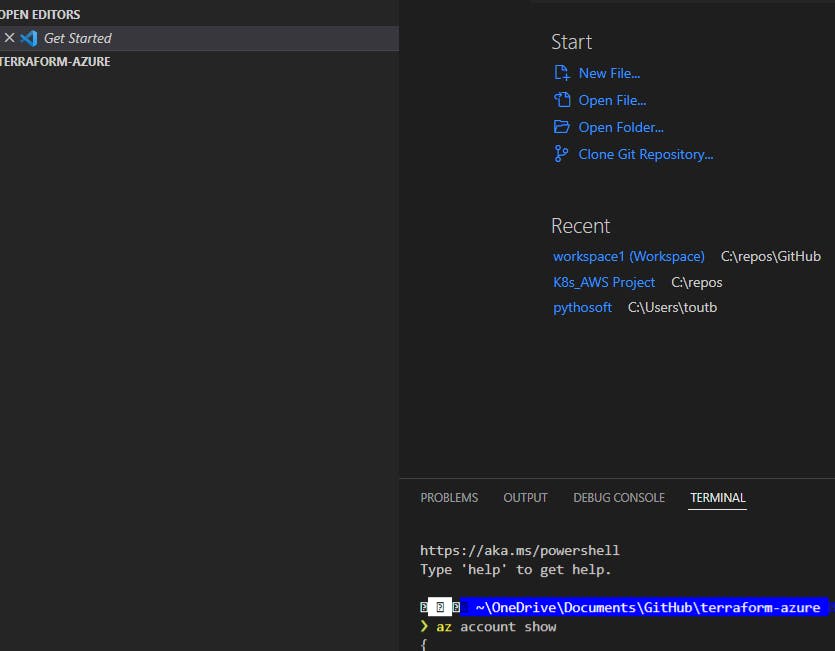
and when you're back at your workspace in VS Code, you see our new project is ready for us to start adding Terraform files and making magic happen.
Terraform automatically creates certain items in this directory as you update and interface so don't be surprised when .hcl shows up, or other items pop-up in the menu. And, if you're new like me, don't alter any of it either. They can be neat to explore as you build -to see how those files change, however. Derek does a great job of walking through some of that in the course.
Now that we have Terraform, the CLI, and Azure integrated into our VS Code, we can start the Terraform builds. To start our project we add a "main" file under the project menu:
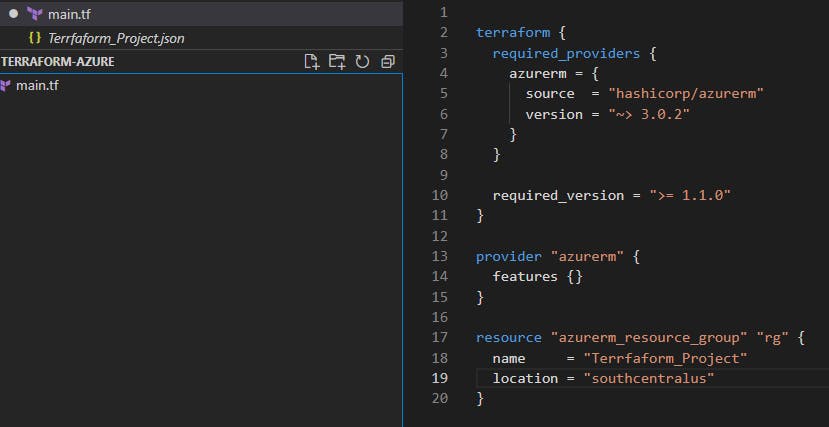
We can specify the version, source, and other options while identifying the required arguments here. You'll also need the new (or old Resource Group name and region you set) you created here at a later time.
Next we will run
terraform init
and you'll get some nice green letters when it works correctly:

you can run
terraform fmt
to format (prettify) your code (clean it up) or
terraform validate
to confirm your code will be successful upon execution if ever you want to QC your main.tf updates
You should take of your documents area by now, note we have stored everything locally, as you see the new terraform.lock.hcl (which maintains your version) in your project folder. This is a compiled file and the windows file that communicates with Azure's API.
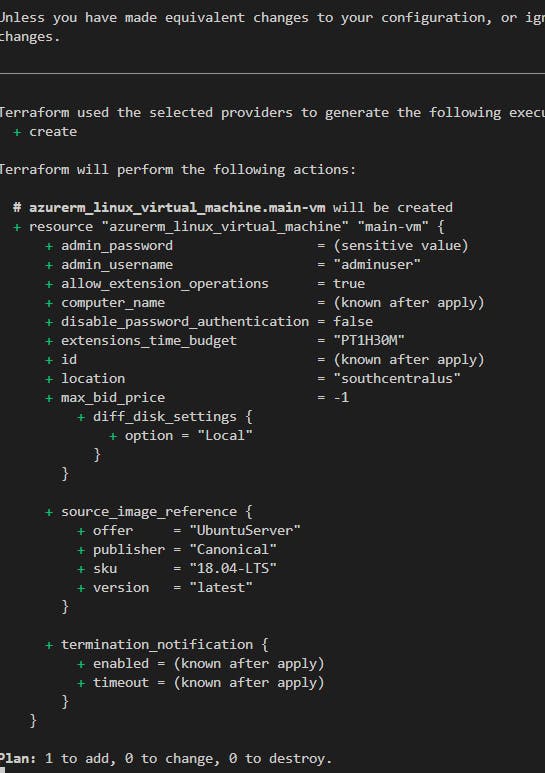
Next, we run
terraform plan
which shows what will be built if you run this script... I then run
terraform apply -auto-approve
since you just saw the plan, in preview.
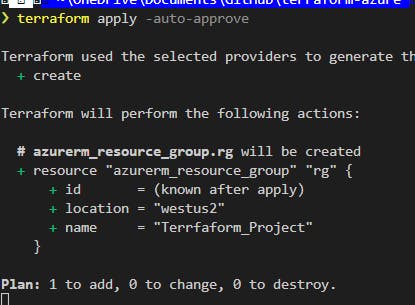 The screen should look a lot like this. Even more if you have dark mode enabled.
You can check your work in the Azure portal or run
terraform show
in the terminal to see information for your project.
Next, we add the virtual network. Something like,
resource "azurerm_virtual_network" "vnet" {
      + address_space         = [
          + "10.123.0.0/16",
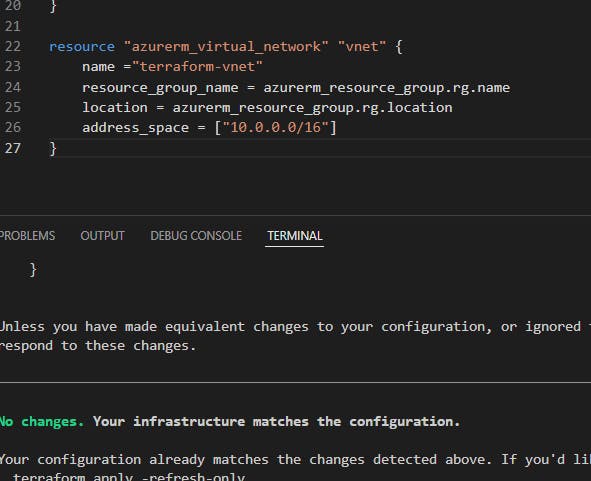 then run
terraform plan
&
terraform apply
[[I should mention here that if you run into issues anytime with "no changes" when you run "plan", then you probably just need to go back and save your file. I definitely forget this when going in increments but a best-practice is "Save", "terraform plan", then apply]]
Additionally, anytime you want to know what's in your resource group in terraform; try
terraform state list
or
terraform state show resource_group_name
(shows that rg) or you can still run
terraform show
to see it all.
Now, let's add our subnet:
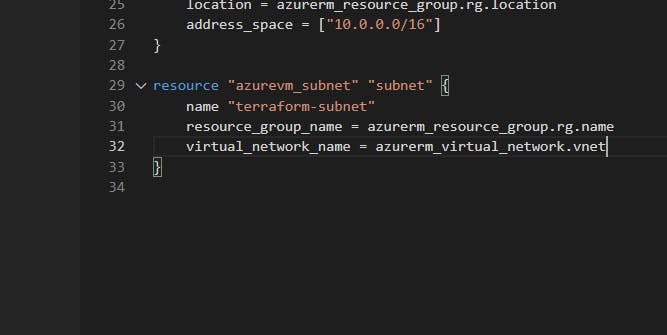
Again, always save your file, then run
terraform fmt
to format your file, and notice if there are any errors. Here, I was missing an "=" after group name so I went back and cleaned that up.
Run
terraform plan
again to see how it works, and if like me - you misnamed virtual network name, update it, save and, run
terraform apply --auto approve
(& this may take a minute or so)
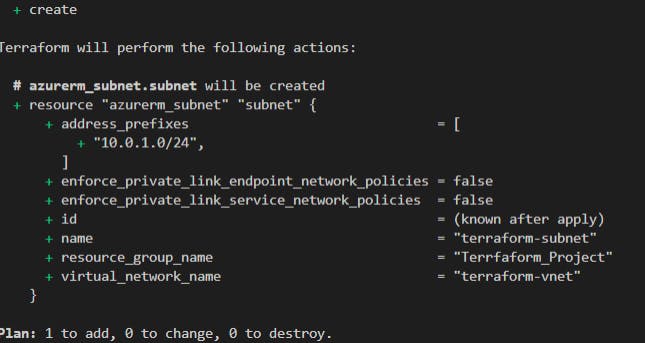
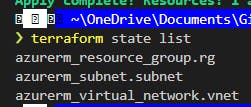
Once complete run
terraform state list
to view your resources:
Now comes the big money - we are going to add in the network security group. Here are some resources: registry.terraform.io/providers/hashicorp/a.. registry.terraform.io/providers/hashicorp/a..
We set up the nsg and rules to allow inbound traffic to connect to it, and will use an asterisk to denote "any".
In the source IP address add your public ip address (shh, it's private).
If you don't know your IP, https://www.whatsmyip.org/ will give it to you.
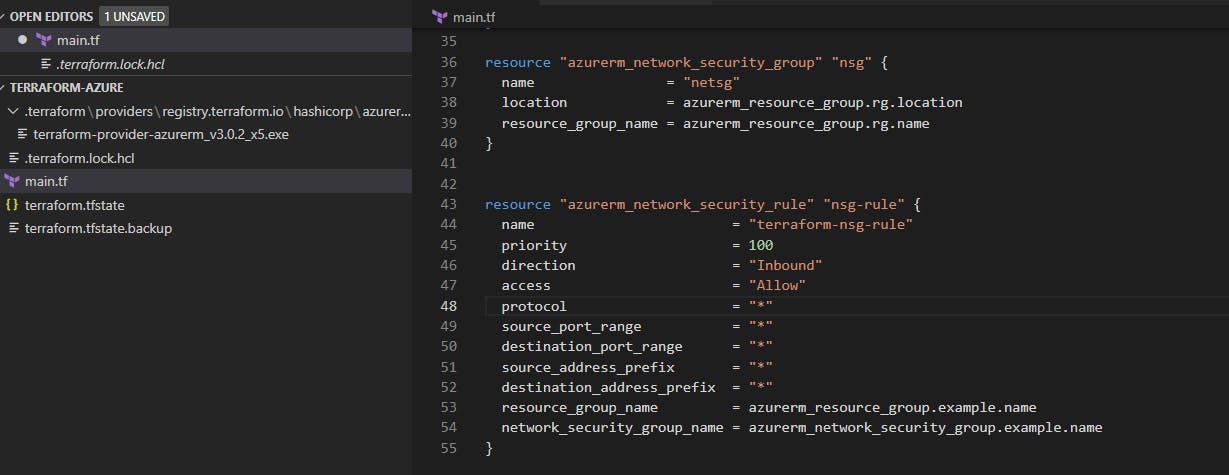
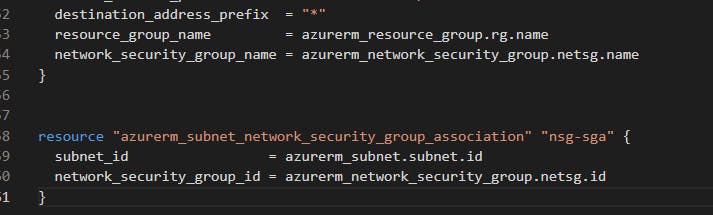
You can also add your security group association here to protect our subnet, just a couple of lines:
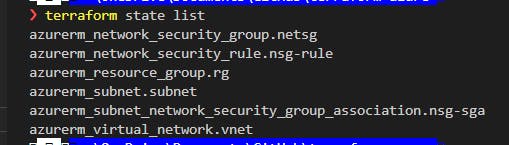
Then do the save, fmt, plan, apply shuffle. And let's run
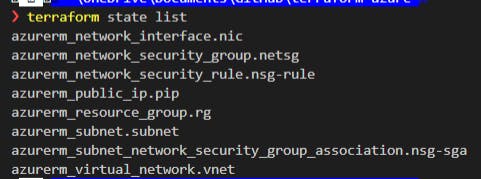
terraform state list
to see our resources. Here's what I had so far:
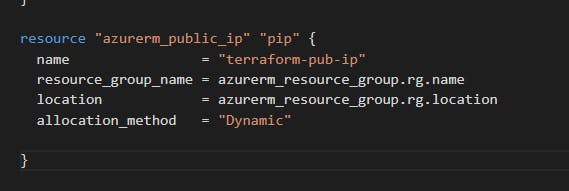
Now we are going to sort-of imply a public IP, but adding a dynamic IP address won't actually occur until the NICis attached to a resource (a VM, later).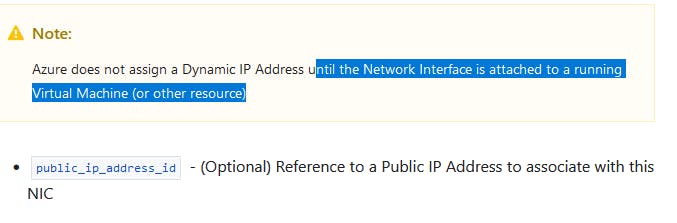
Going to dump some photos of the next steps here:
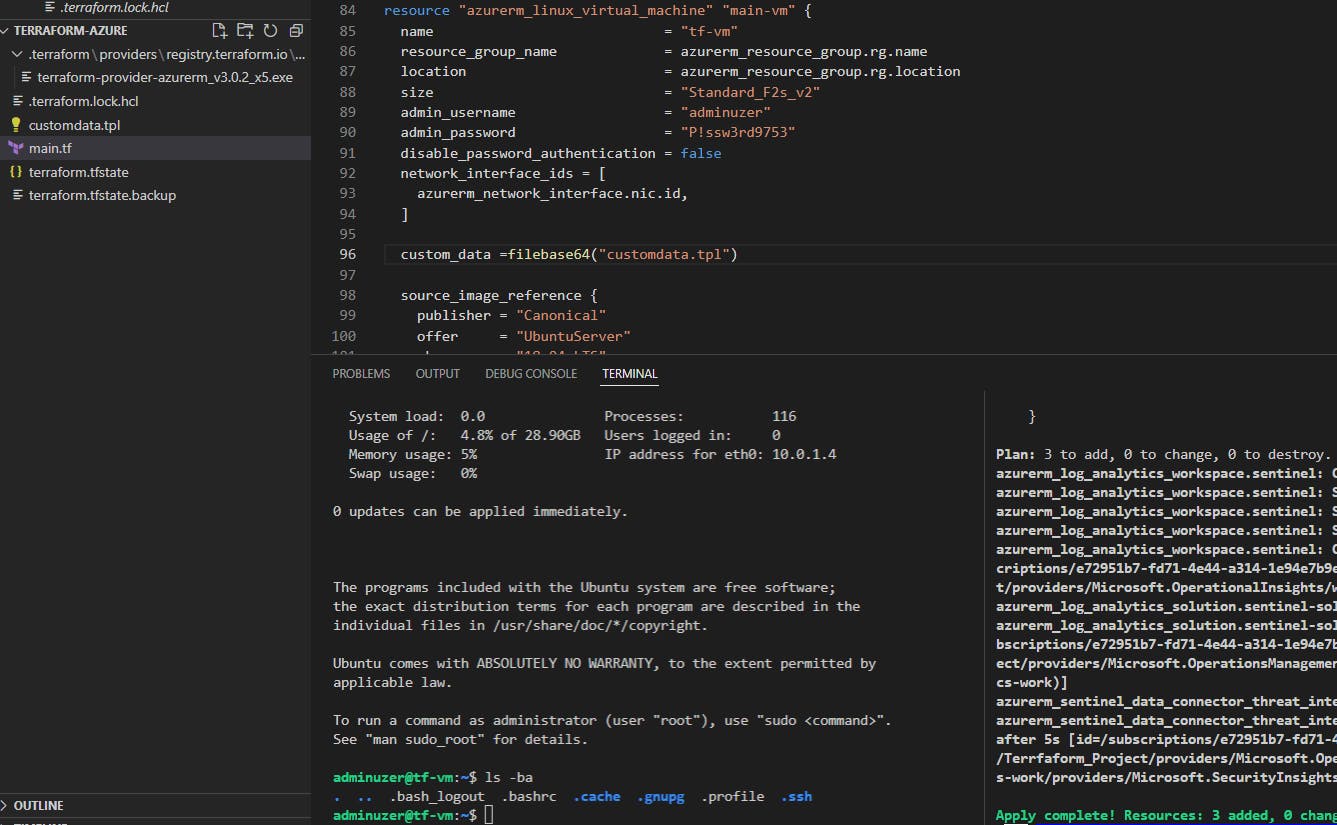
Okay, so we've got the network ready. Now we can get something to connect to. We add a VM:
This will include the VM resource, an SSH key, an OS Disk and then an actual OS. My favorite part. And let's stick with Linux.
I used i used TF's GH repo for an Ubuntu Server OS and made some minor changes.
You'll definitely want to change "caching" to "ReadOnly" because the ephemeral OS disk doesn't permit readwrite, as is in the GH. You can read more about that here, if you're curious.
Save, fmt, plan, apply! Again!! Then maybe wait a few minutes for it to deploy and
clear
your terminal cause that's a lot to handle.
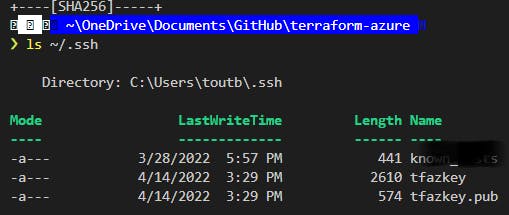
Next, create your SSH key
ssh-keygen -t rsa
and save it in the same directory, just rename it to something nice and fancy.
"C:\Users\you/.ssh/bacon"
then add your passphrase (or don't), I'm sure it's fine.
Verify your key was made by checking the list of files in .ssh:
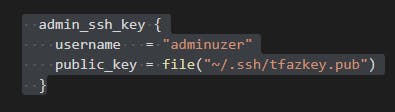
Your key now needs to get called into the VM somewhere so: Add the key pair you just made somewhere in your VM's code: (we get to use TF's file function here)
admin_ssh_key {
    username   = "adminuser"
    public_key = file("~/.ssh/yourkeyname.pub")
  }
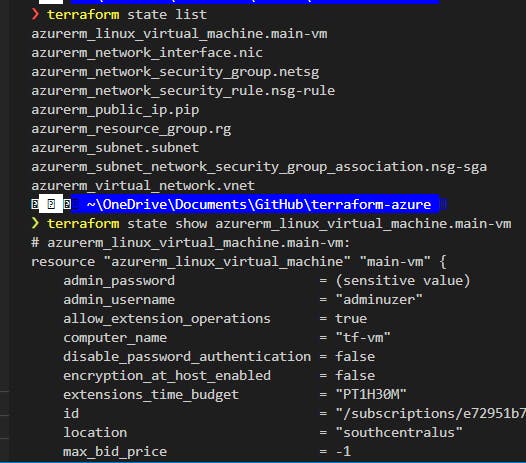
Here we can get your IP address! run
terraform state list
again then copy that new resource, and try running
terraform state show new_linux_vm_name
ssh -i ~/ssh/keyname adminuser@the.public.ip.address
Once you ssh using the above code (and the public ip address now in your file), you can confirm the addition of the certificate, and see yourself logged in as the username you made during the addition of the vm.
You're in like Flynn!
You can also try adding docker using the customdata template terraform.io/language/functions/file
#!/bin/bash
sudo apt-get update -y &&
sudo apt-get install -y \
apt-transport-https \
ca-certificates \
curl \
gnupg-agent \
software-properties-common &&
curl -fsSL https://download.docker.com/linux/ubuntu/gpg | sudo apt-key add - &&
sudo add-apt-repository "deb [arch=amd64] https://download.docker.com/linux/ubuntu $(lsb_release -cs) stable" &&
sudo apt-get update -y &&
sudo sudo apt-get install docker-ce docker-ce-cli containerd.io -y &&
sudo usermod -aG docker adminuser

You'll also get to reinstall your VM and practice finding your IP, and SSHing again in this tutorial once you update that Docker installation.
Then you need to fmt, plan (yes, 1 will be destroyed as the VM will be redployed), and apply! It will take a min, grab a cookie.
After you eat your Oreos and your VM has redeployed, we are going to have a new IP address so let's run
terraform state list
and grab the Linux vm name again then
terraform state show vm-name
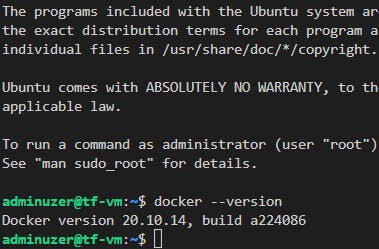
So we are then gonna get back in via our new IP address with the ssh from above, and we can recheck the Docker version with
docker --version
I went off-script & added some threat intelligence from Terraform's library.
And then I returned to add data sources, with the following:
data "azurerm_public_ip" "pip-data" {
    name = azurerm_public_ip.pip.name
}
You know the drill: we then fmt, save, plan and try
terraform apply -refresh-only
``` if you didn't fall asleep.

enter yes
and run another
state list ``` & we have data!
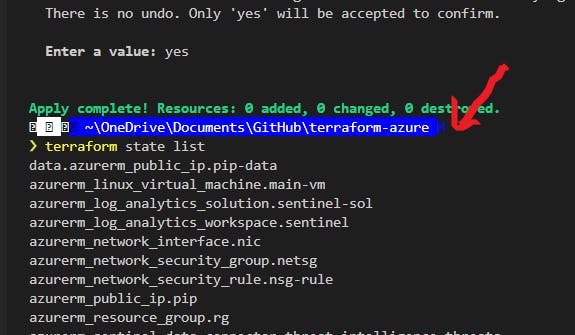
This deployed threat watcher on my resource group, which was cool, and a step off of Derek's tutorial.
I did add the remote and config tools from the tutorial:
but I also opted for the other implementations for practice.
Another great run through from More Than Certified!
Alternate journeys: Outputs
Add other applications, libraries, whatever you need to make the development environment yours!
Derek suggests setting up a repository and configuring it to work with your remote instance if you completed that portion, which sounds very DevCool.